 5-Star Rating!
So you just bought a new project car – you’re excited and ready to get your hands dirty transforming it into something new. But where do you begin? As tough as it might sound for hands-on people, it is important to resist the urge to start wrenching on your car before you have a game plan in place.
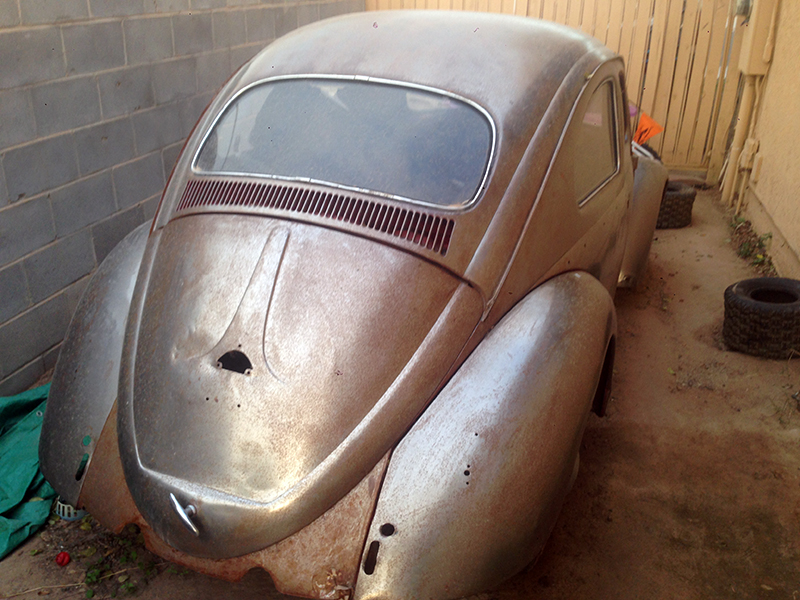
There are three key steps to planning out your restoration. First things first, you should audit the current condition of the car. Assess how much rust and overall deterioration there is, what has and hasn’t been previously restored, and which components are still in usable condition.
Next, you need to ask yourself what the end goal is for this car. Are you going to keep this as your daily driver, cherish it as a show car, or are you going to flip it and move onto the next project?
Once you have answered this question, you can start digging into the third key step: budget and timeline. Determining your budget and timeline for the restoration will help guide a lot of the decisions you make, including where you begin working and how you break up the work load.
This may sound daunting, but addressing these three questions will set you up for smooth(er) sailing through your restoration process.
To audit the condition of the car, I suggest that you start by stripping and cleaning the car. You will never know how much rust you have in the floor if you can’t see the floor. How in depth you go with this step really depends on your answer to the next question; what is your intended use of this car?
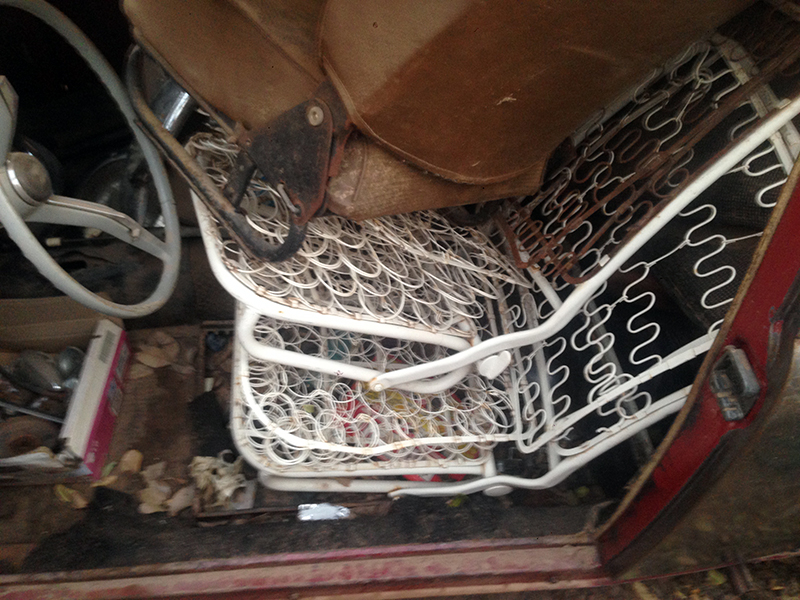
If you are planning an immaculate restoration, then you should clean and inspect every nook and cranny of the car. If you are throwing something together that you plan to use and abuse out in the desert or to get from point A to point B, then you can give the car a solid look over and move on.
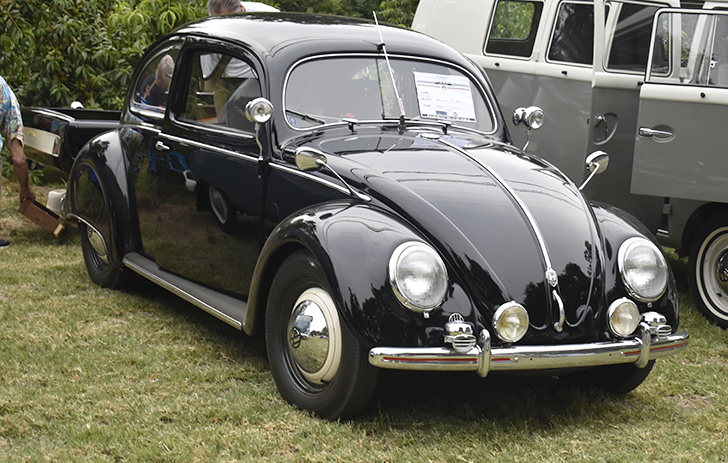
I suggest having a big picture idea of what you want to do with the car in the end because it will guide a lot of the decisions you make. You don’t have to have a perfectly mapped out blueprint of the final project, but it is good to know if you want to build something for sport or show.
When it comes to parts like rubber, running boards and wheels, there is a range in the quality of parts available. Why invest in the highest quality parts with lifetime warranties if you won’t have the car for long. On the flip side, if you want to show the car, you want to make sure you are opting for top quality OEM parts.
This leads us to the next topic: budget and timeline. For some of us, budget might be “whatever is left over after I pay the bills.” This is fine – your budget can be fluid. But having a ballpark idea of how much time and money you can invest in your build can save a lot of frustration.
If you are building a daily driver on a tight budget, you will want to first focus on getting the car moving and stopping safely and then address more frivolous parts of the build later. If budget isn’t a big issue for you, then I recommend approaching the restoration holistically and fixing everything that can be fixed. Start by disassembling the car down to the bare bones, removing all the external body parts and trim (fenders, bumpers, hood, deck lid, doors, running boards, molding, windows, lights, etc.), and work your way inward from there.
If you plan to paint the car or you discover substantial rust in the lower body during your inspection, you may consider splitting the body from the pan. It’s a very labor intensive process and requires additional preparation, but ultimately offers the best results as you have much more space and range of motion to get into the hard-to-reach spaces.
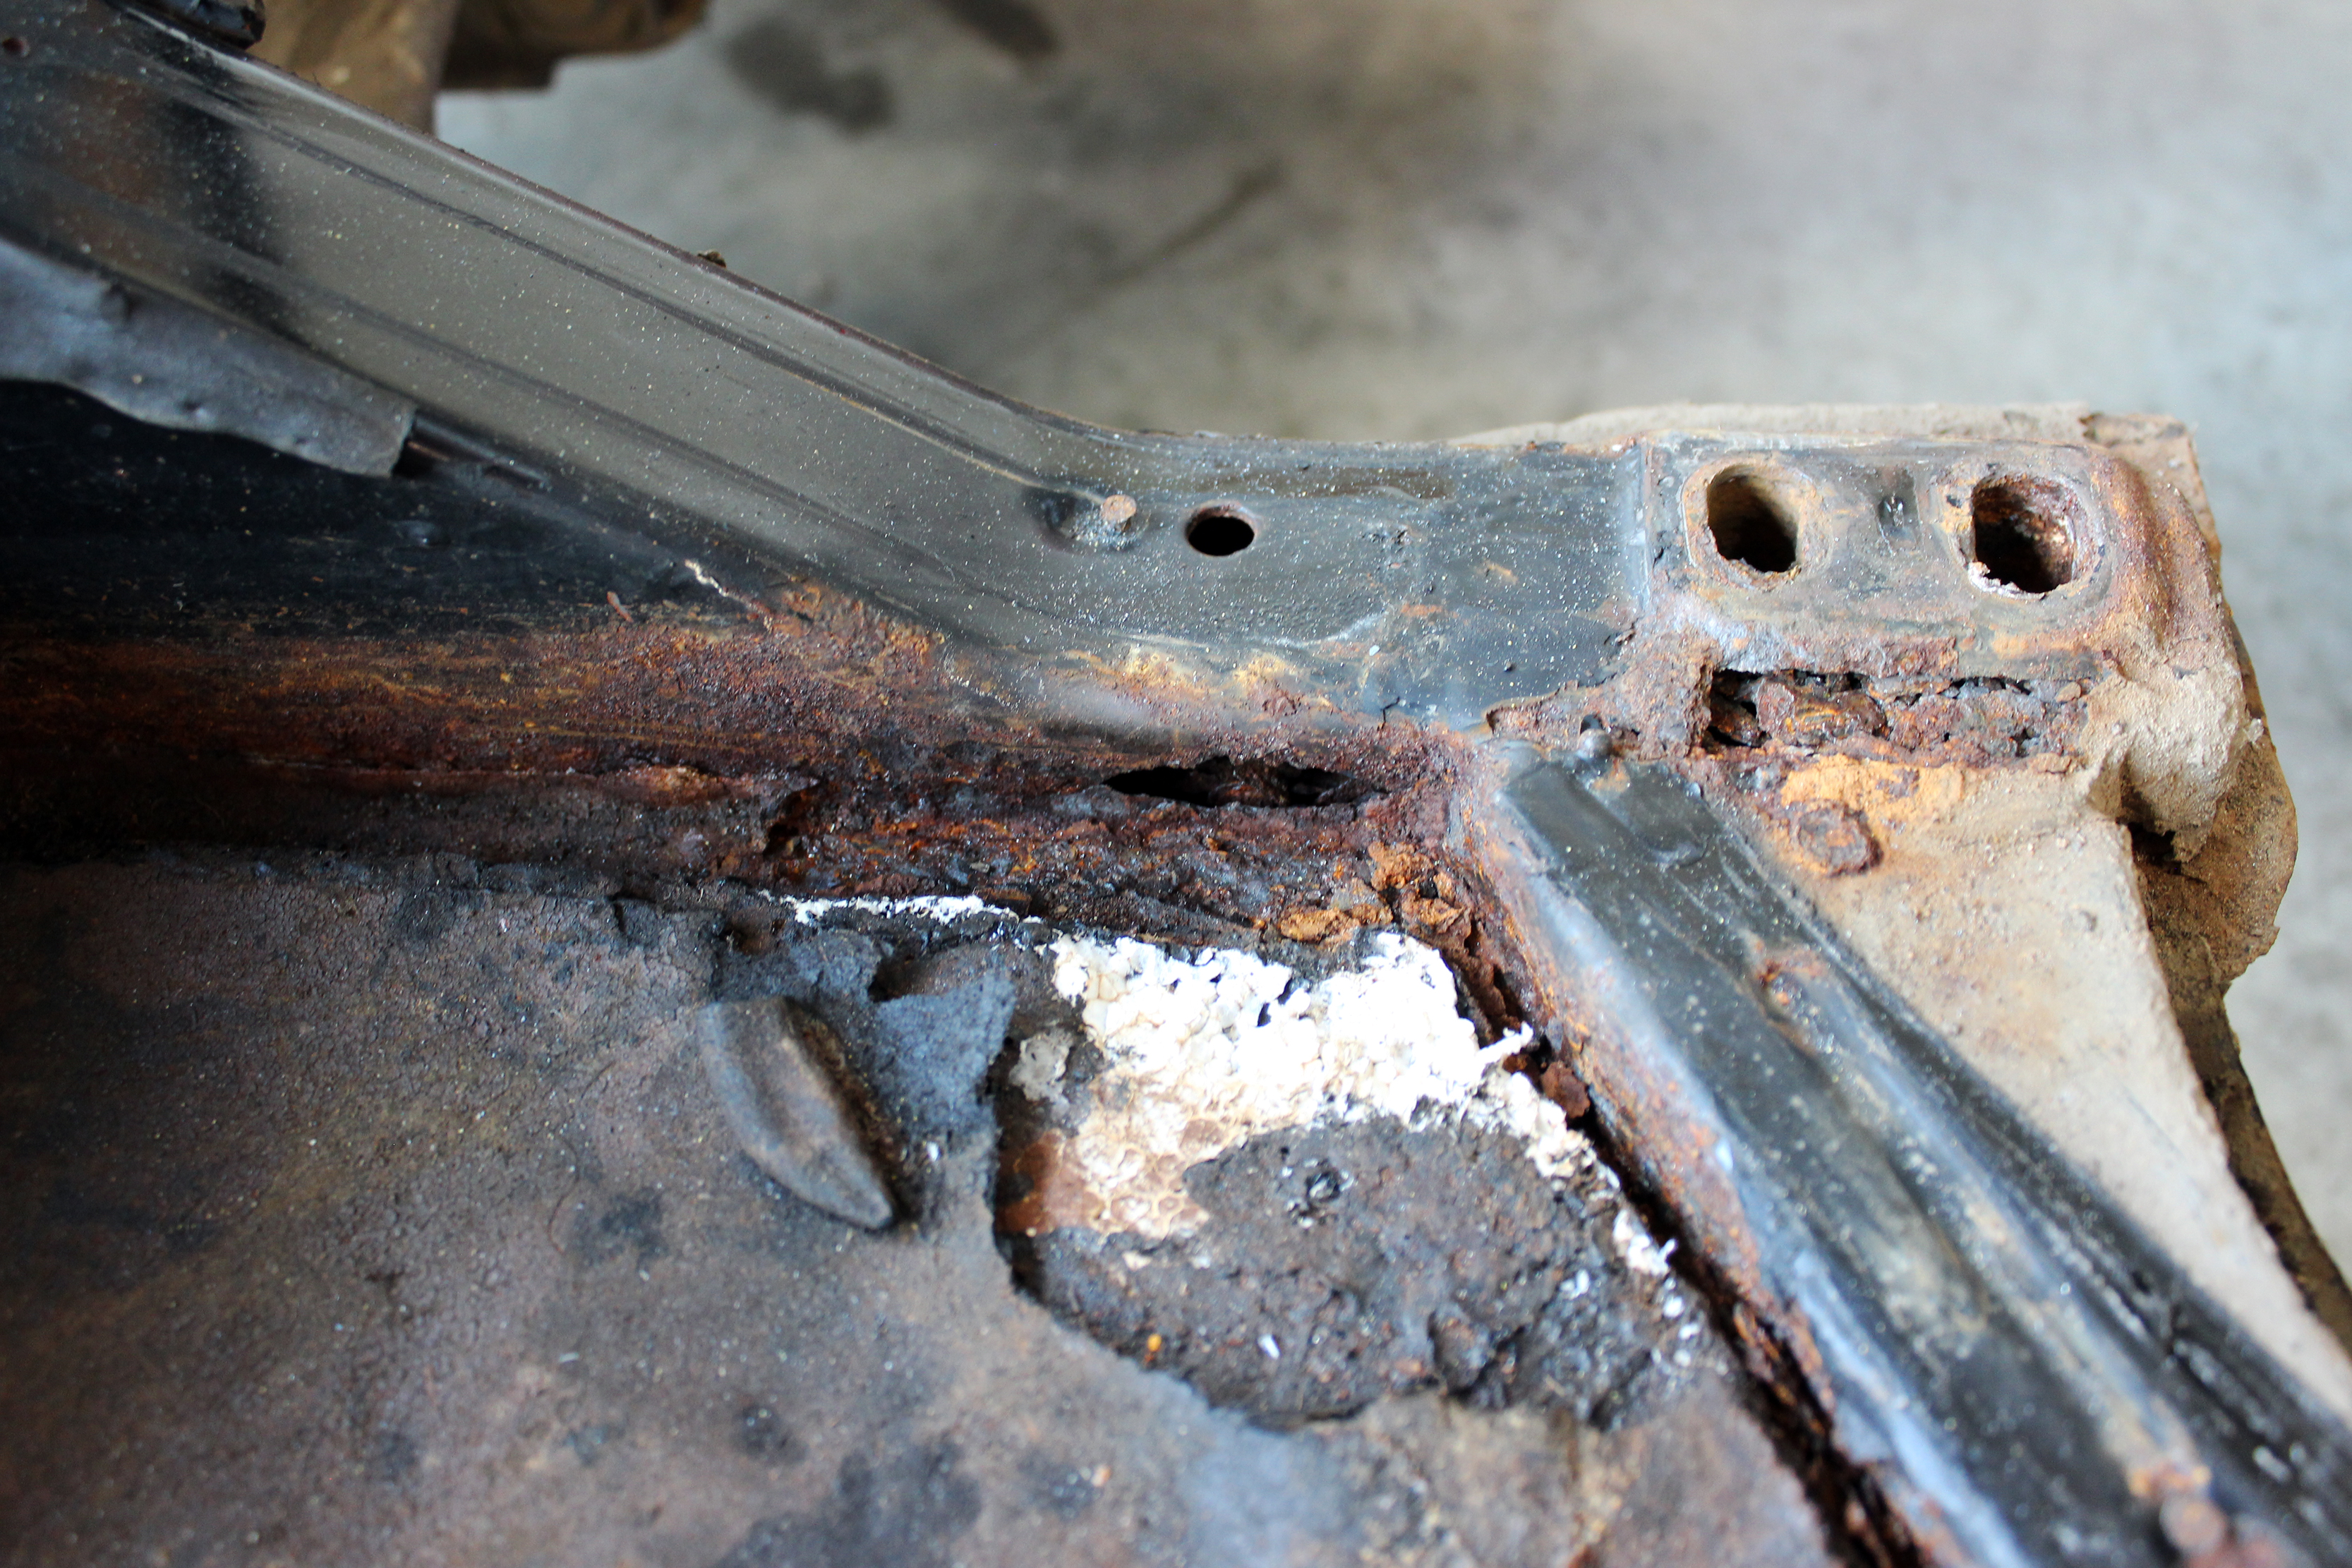
Luckily, Sam is getting ready to do just that. For those of you that have yet to start working on your new project, we will be releasing a video this Friday to kick off a new series on a full restoration of Sam’s ’71 Super Beetle. He begins preparation for bodywork and paint. The series will include separating the body and pan to address some rust he found when he got the car.
This might be your first restoration or your 50th – either way, I suggest following these guidelines as you kick start your project. Mapping out realistic expectations and establishing a working plan for your project will save you frustration and keep you focused on the joy of the project, which is what brought you here in the first place!
