 5-Star Rating!
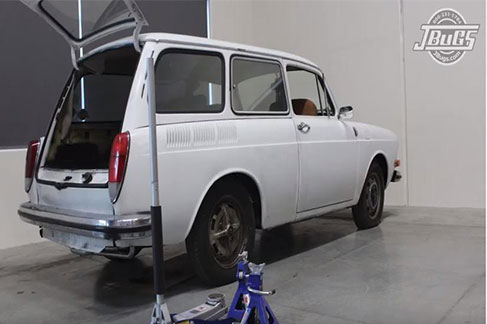
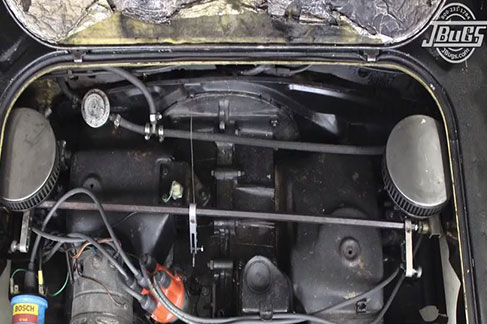
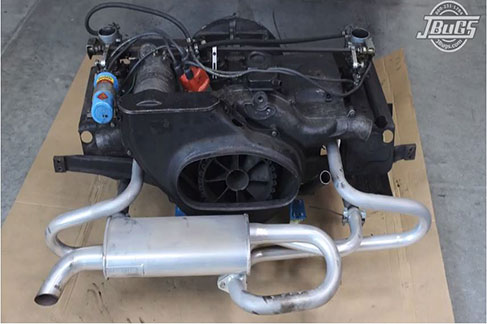
The JBugs' restoration crew is starting to tear down a classic Volkswagen Type 3 to show how to successfully complete a restoration. For our first how-to, we show you the steps necessary to safely remove the engine.
Tools to Use:
- 8mm Wrench
- 13mm Wrench
- 17mm Wrench
- Flathead Screwdriver
- Phillips Screwdriver
- Fuel Line Plug
- 3/8 Drive Ratchet
- 13mm Socket
- 17mm Socket
- Ratchet Strap
- Jack Stands (18” or taller recommended)
- Jack (20” lift height recommended)
- Block of Wood
- Engine Dolly
Steps to Follow:
Note: The original fuel injection and heater boxes have been removed so this will be slightly different than a car with original equipment
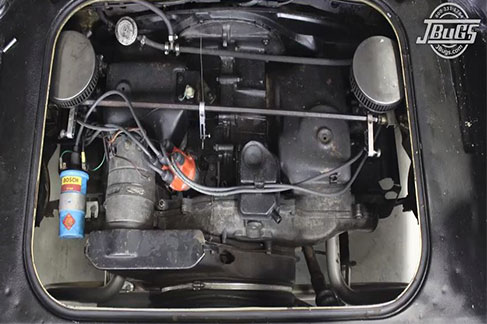
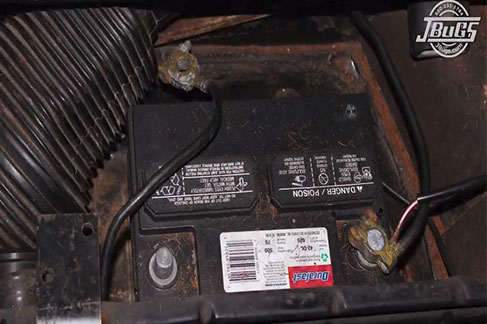
1. Disconnect the negative battery cable
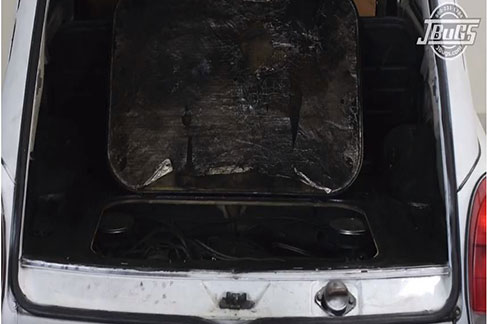
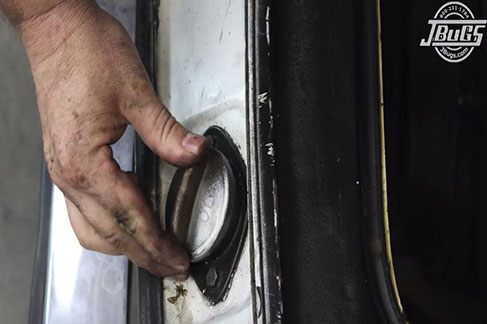
2. Open the hatch and engine lid (on the rear)
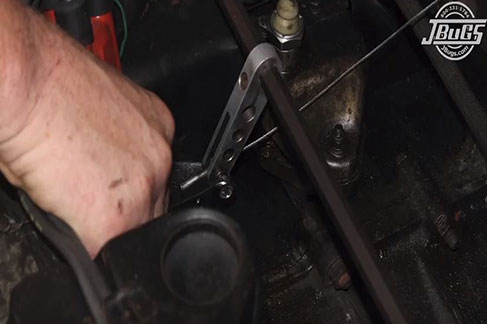
3. Loosen the barrel nut bolt with an 8mm wrench
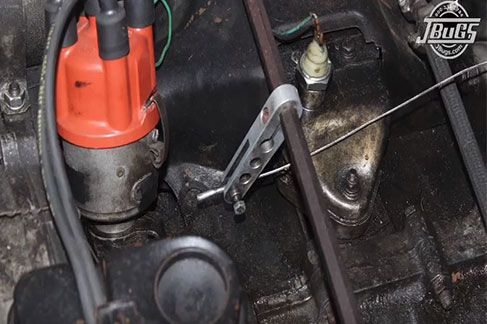
4. Remove the accelerator cable from the carburetor linkage
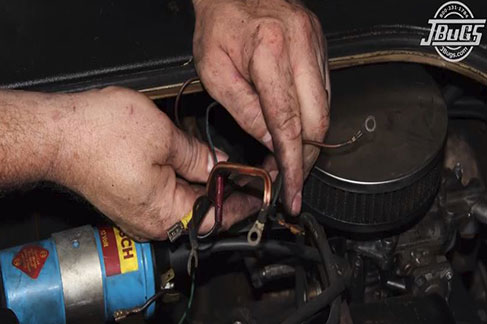
5. Remove the nuts on the generator DF and D positive electrical terminals and remove the wires there
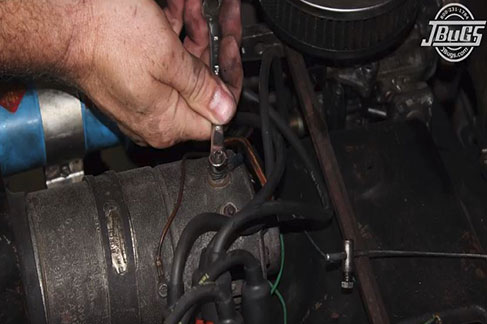
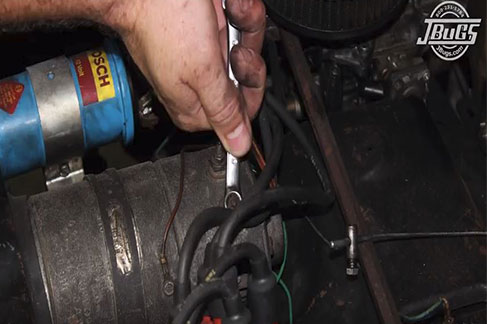
6. Remove the ground wire of the generator with a flathead screwdriver
7. Disconnect the fuel hose and plug it off to prevent leaking fuel
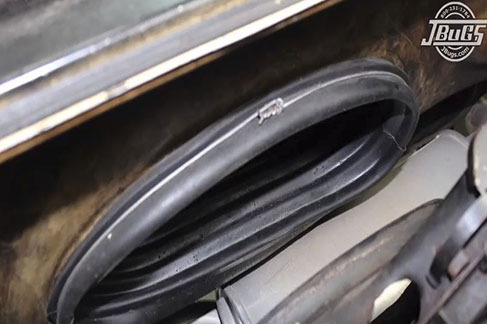
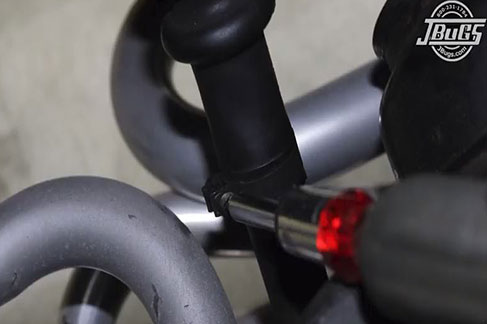
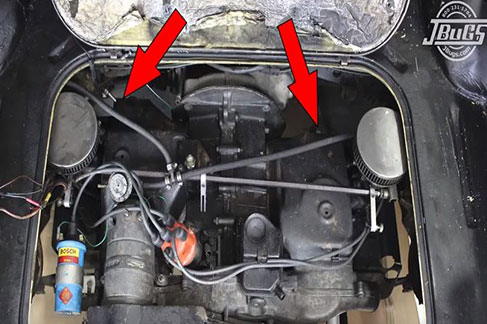
8. Remove the rear intake bellows clamp
9. Pull the bellows off the engine intake and tuck them into the body

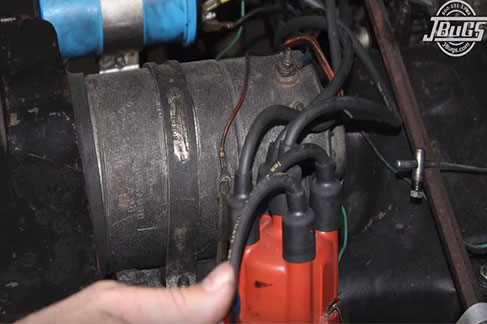
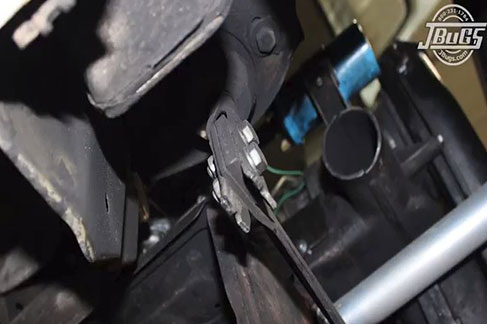
10. Disconnect the power wire, as well as the wire going to the reverse light switch from the main harness of the coil

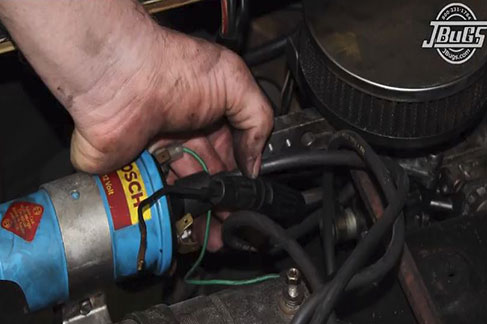
11. Remove the oil pressure switch wire
12. Pull up the engine wire and clear it of the engine
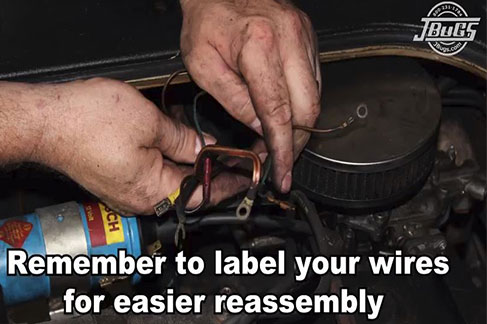
13. Label the wires for easier reassembly
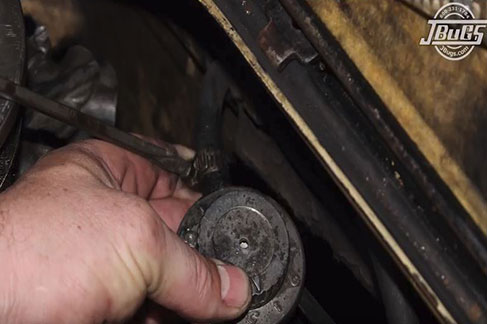
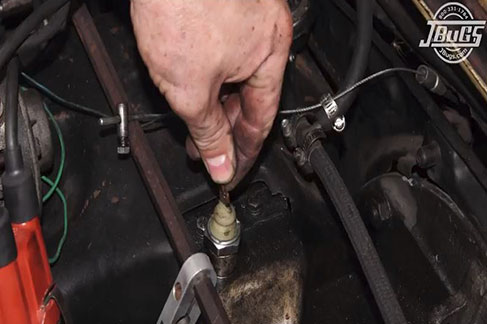
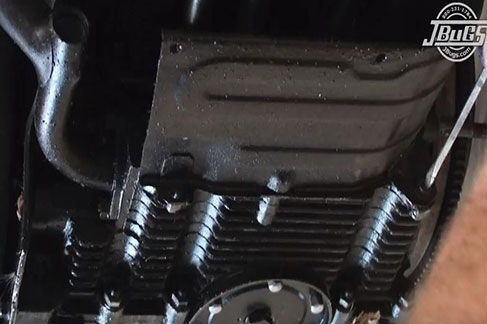
14. Pull the engine dipstick out of the dipstick tube and remove the tube by loosening the clamp with a Phillips screwdriver

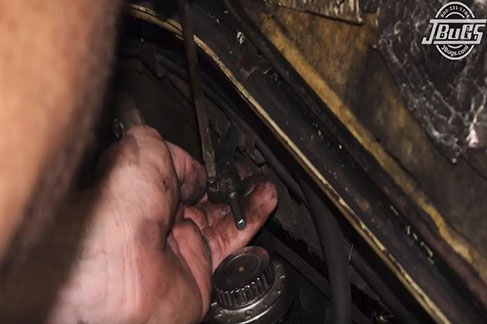
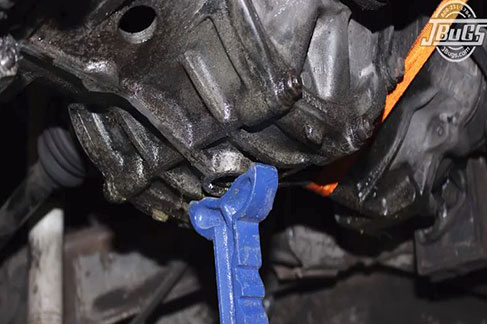
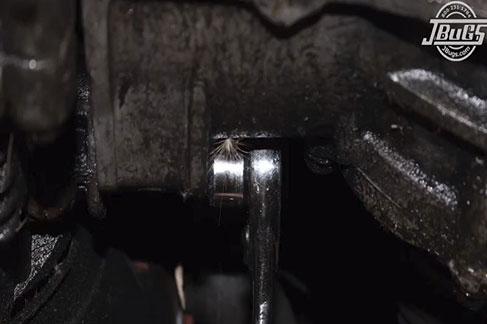
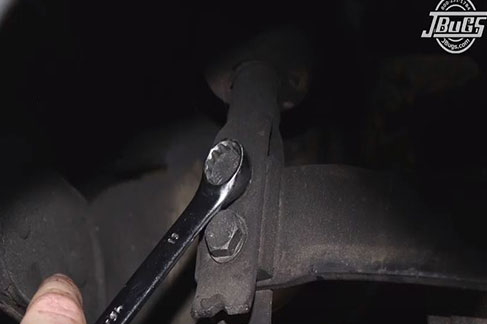
15. Remove the starter bolt nut with a 17mm wrench
16. Access the opposite side bolt to remove the front engine tin
Note: The tin on this vehicle wasn’t bolted in. If there were bolts, use a flathead screwdriver at the left and right rear corners of the engine

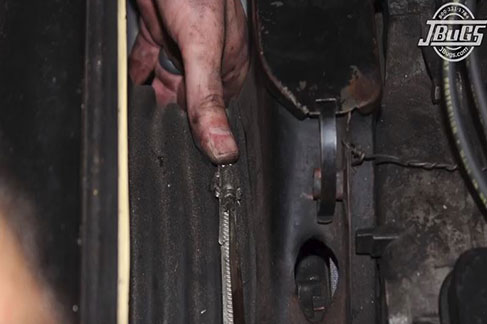
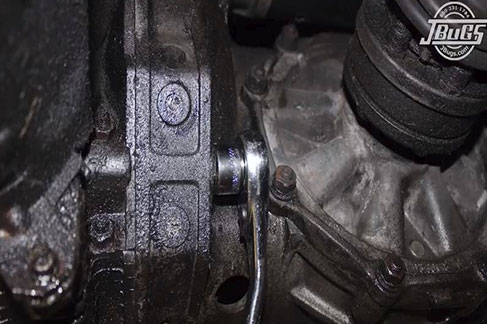
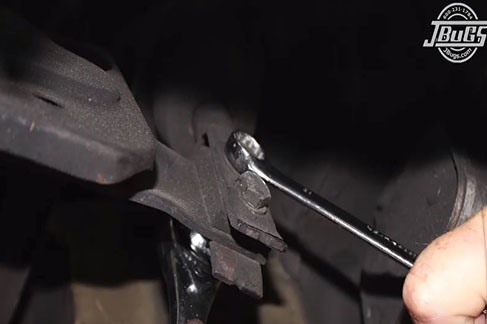
17. Remove the upper left engine bolt with a 3/8 drive ratchet, a 17mm socket and wrench
18. Keep air cleaners in place to prevent anything from falling into the engine during the engine removal
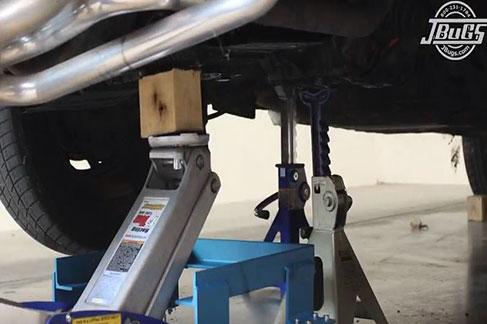
19. Jack up the rear end of the car and set it on jack stands
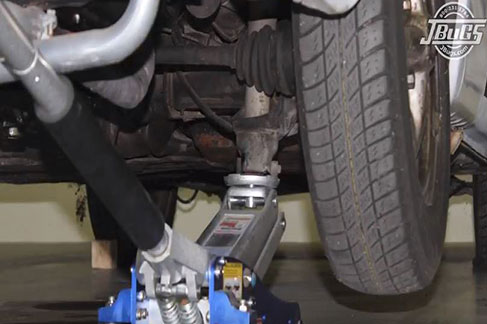
20. Set a jack stand underneath the transmission and attach a ratchet strap to the left and right shock towers as well as underneath the transmission
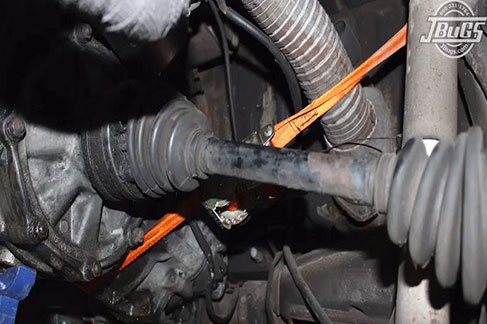
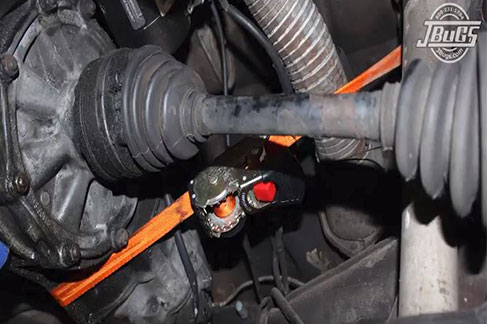
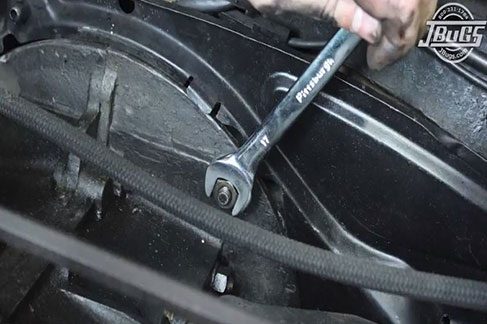
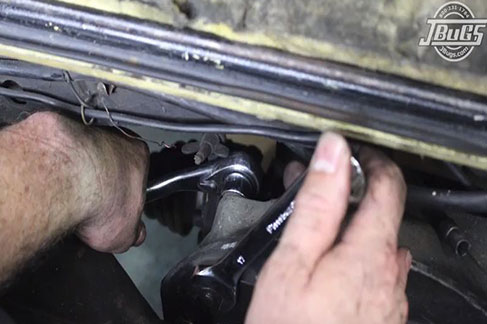
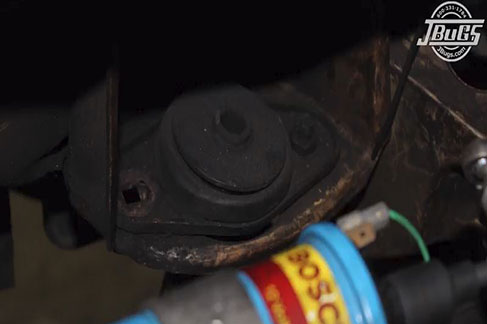
21. Remove the left and right lower engine nuts with a 3/8 drive ratchet and 17mm socket
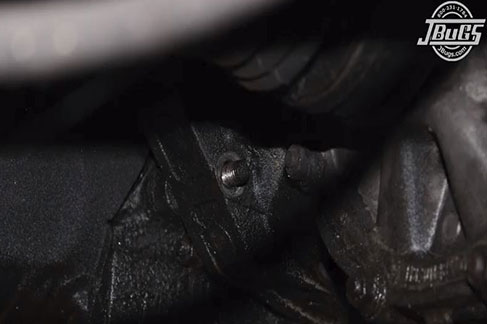
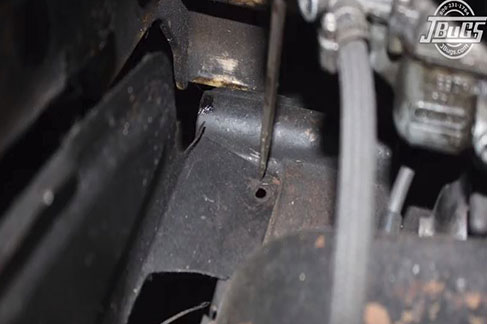
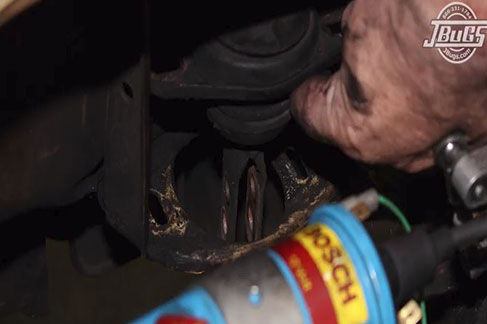
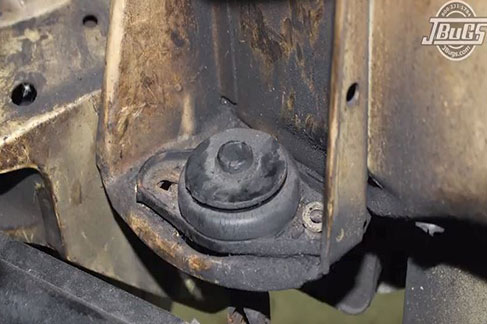
22. Remove the left and right rear engine cross brake bracket nuts and bolts with a 3/8 drive ratchet, 13mm socket and 13mm wrench
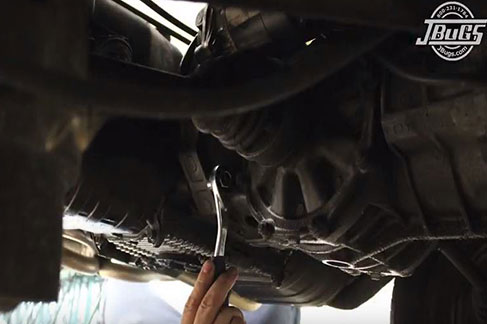
23. Remove the cross brace to body mounts from the top of the engine with a 13mm ratchet and 13mm wrench
24. If you’re using a rolling engine dolly, remove the heater channels from under the engine with a flathead screwdriver
Note: The heater channels in this vehicle were only bolted to the case and not to the cylinder shrouds so the removal was a bit easier
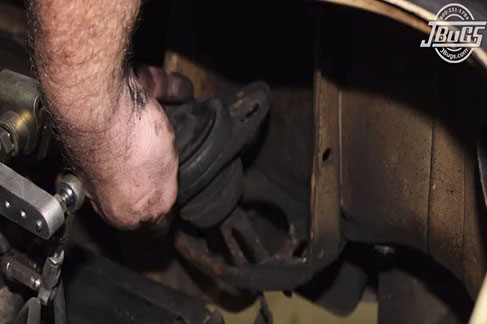
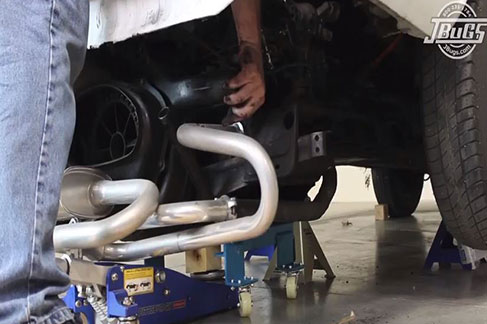
25. Place a jack under the engine sump. Use a wooden block if your jack can’t lift high enough
26. Have an assistant reach into the engine compartment from above to pull the engine back until it is clear of the transmission

27. Once the engine is clear of the transmission, lower it all the way down
Note: We are using the rolling engine dolly so once the engine is in the dolly, lift the engine up slightly, remove the wooden block and set the engine into the dolly
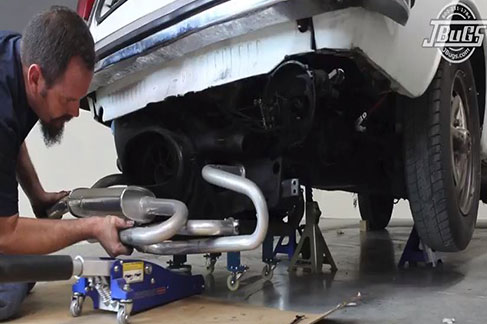
28. Jack the car up high enough and roll the engine out
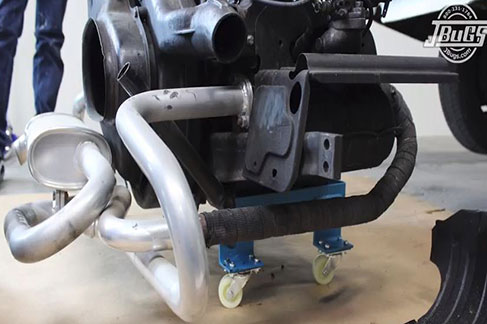
Once you have completed all of these steps, the engine should be safely removed and ready to have its tins removed. Come back next time for the step-by-step guide on how to successfully remove the engine tins in order to prep your engine for a rebuild or upgrade.
While you’re waiting, be sure to head over to www.JBugs.com to pick up the best products for your classic Volkswagen restoration. If you need help placing an order or have questions regarding any of our merchandise, give us a call at 1-800-231-1784 and we’ll be happy to help!
