 5-Star Rating!
JBugs.com offers bumpers and bumper kits for VW Bugs/Super Beetles and Buses. All of our bumpers are manufactured with high quality materials
that are designed to outlast tough conditions. We have chrome bumpers available in two different packages: the front and rear bumper or front and rear bumper kit which includes the front and rear bumper, bumper brackets and all the hardware necessary to install the bumper to the brackets and fender well. The hardware included in the bumper kits are German-made and
easy to install.


The following steps are for installing the 1968-1973 VW Beetle Front and Rear Beetle Chrome Bumper.
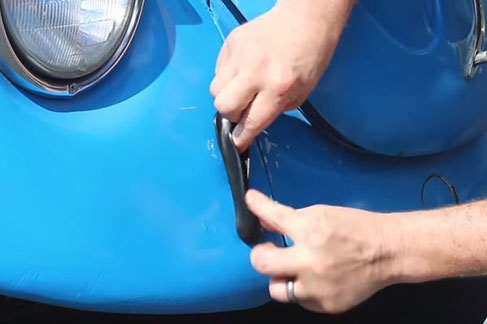
Before installing the bumper brackets, you will need to install the bumper bracket seals
- The seal has an inner lip and outer lip
- The fender will sit in between the two lips

- Slide the seal into the opening of the fender
- Make sure the inner lip is in the place to hold the seal to the fender
- Repeat the process for the other three bumper bracket seals
Onto the bumper and brackets
- Loosely bolt the brackets to the bumper
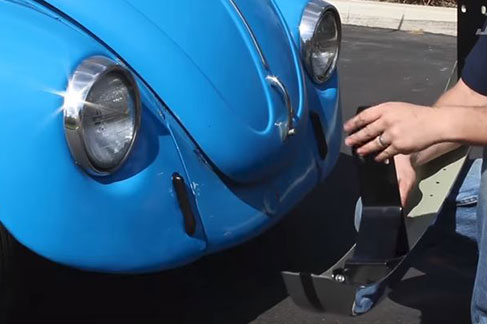
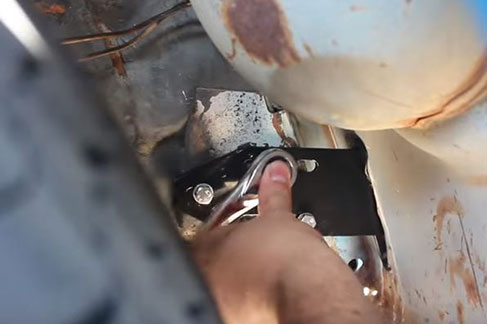
- Slide the brackets through the seals
- Note: The two bumper bracket bolts on the lower edge are on the bottom side of the bumper
- This is the proper orientation of the bumpers’ brackets and bolts
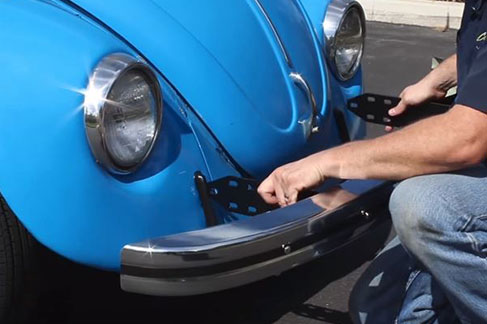
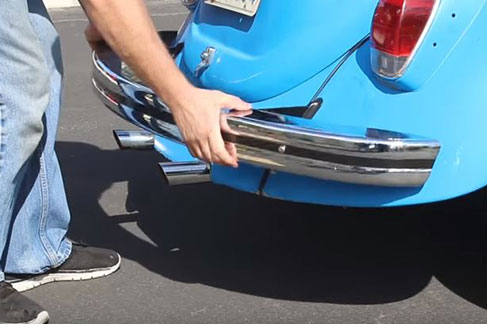
- With the bumper in place, go into each fender well and loosely bolt the bracket to the bumper
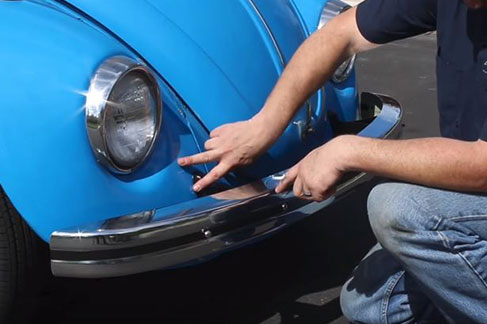
- With the bracket to body bolts in place, check the fitment of the bumper to the body
- Make sure the bumper sits level, the hood opens without hitting the bumper and the gap from the bumper to the fender is the same on both sides
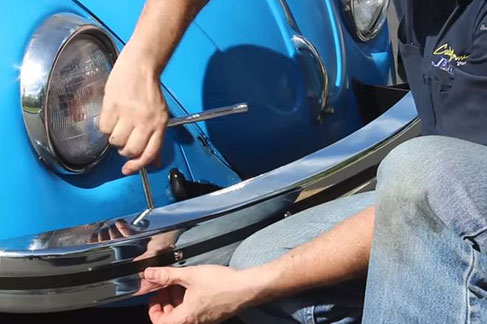
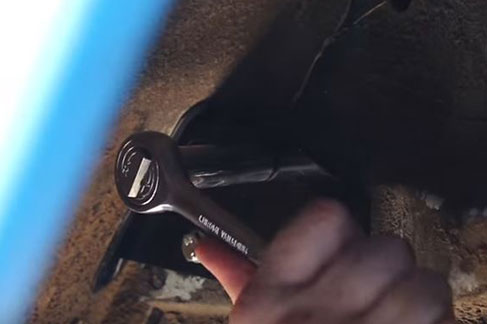
- With the bumper fit checked, go back into the fender well and tighten down the bumper bracket to the body bolts
- Tighten the bumper to bracket bolts
- Insert seals first
- Loosely bolt brackets to the bumper
- Make sure the bottom bolt for the bracket is on the bottom side of the bumper
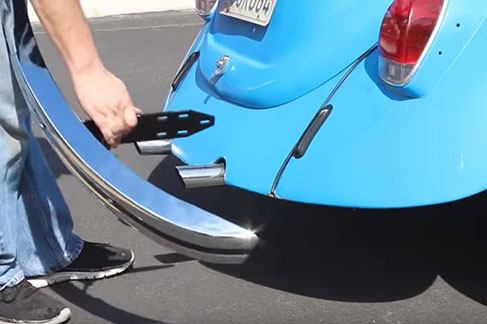
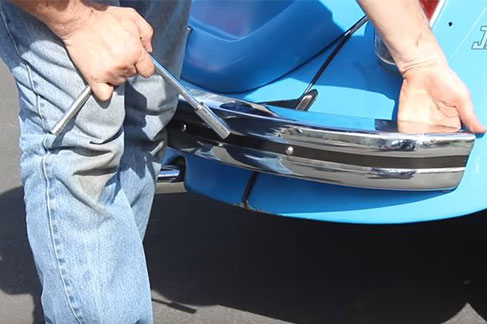
- Note: The rear bumper has an angle cut into each end
- The angles correspond with the angle of the fender
- This is the proper orientation for the rear bumper
- Slide the bumper brackets through the seals
- Go into each fender well and loosely bolt the bracket to the body
- Check fitment of the bumper to the body to make sure the bumper sits level, the deck-lid opens without hitting the bumper and the gap from the fender to the bumper is the same on both sides
- With the bumper fit check, tighten the bumper bracket to body bolts in the fender wells
- Tighten the bumper to bracket bolts
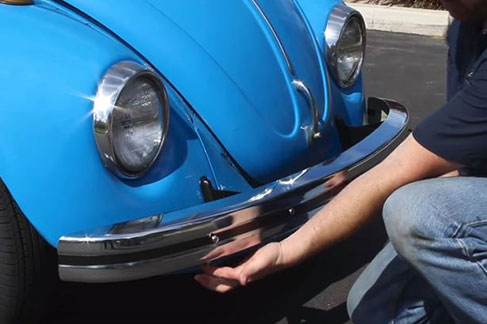
- The installation is complete
The front bumper is now installed and the same process can be followed for the rear bumper


If you want your bumper to have a long lasting chrome finish, it is very important to clean it after the installation with a good chrome polish. Most importantly, polish the bumper after every car wash.
Now that your bumper is installed and polished, it’s time to take your classic VW on a cruise. We can’t wait to see you rolling around on the mean streets in such a nice car!
If you need additional installation help or any questions about your restoration, give us a call at 1-800-231-1784 and our knowledgeable customer service staff will assist you with all of your classic VW needs.
