 5-Star Rating!
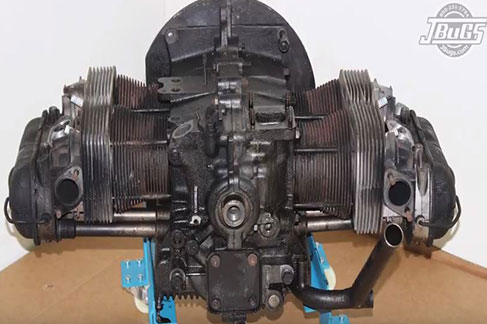
In our last blog, we shared how to remove the engine from a Type 3. Today, we’ll show you how to disassemble the tins from the engine in order to complete repairs or install upgrades.
Tools to Use:
- 10mm Wrench
- 13mm Wrench
- 17mm Wrench
- Flathead Screwdriver
- 3/8 Drive Ratchet
- 10mm Socket
- 13mm Socket
- 17mm Socket
- 30mm Socket
- ½ Drive Ratchet
- Pulley Puller
- Side Cutters
- Flywheel Lock (5003)
- Engine Dolly (5005)
Steps to Follow:
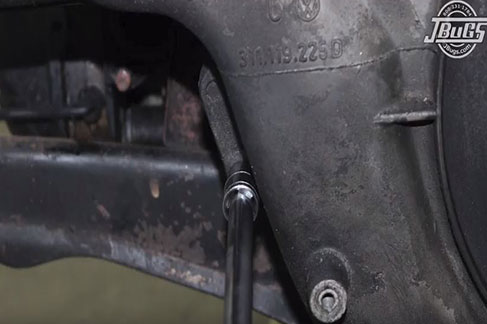
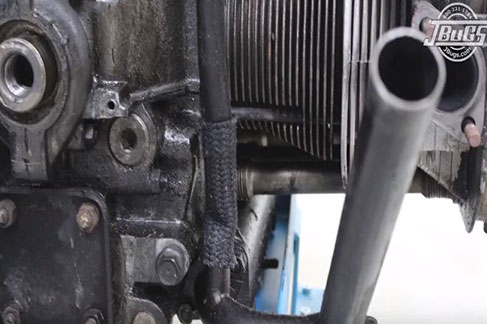
1. Remove the nuts at both of the J-tubes
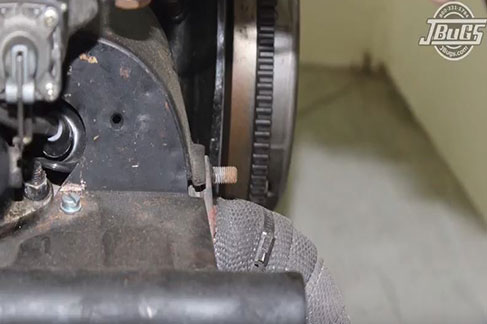
2. Loosen the header clamps

3. Remove the J-tubes
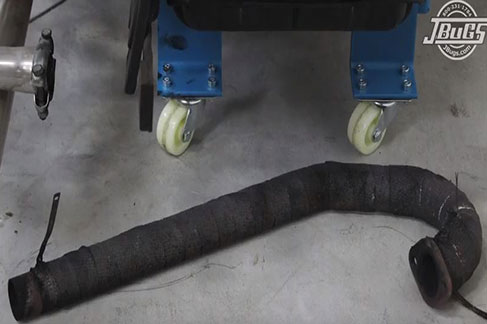
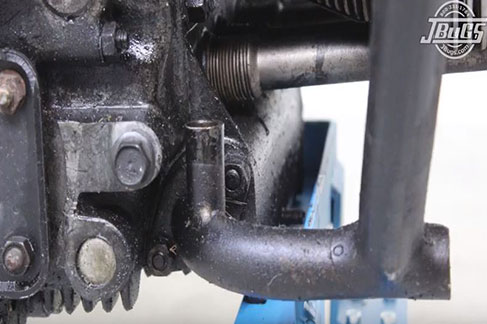
4. Remove header nuts from both of the heads
5. Pull off the header and muffler assembly

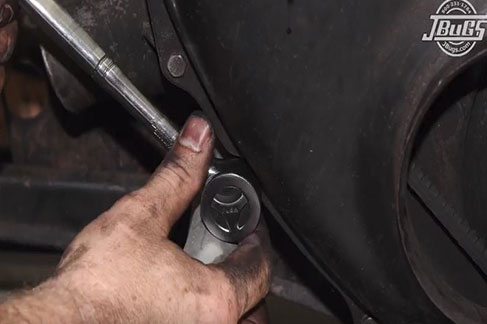
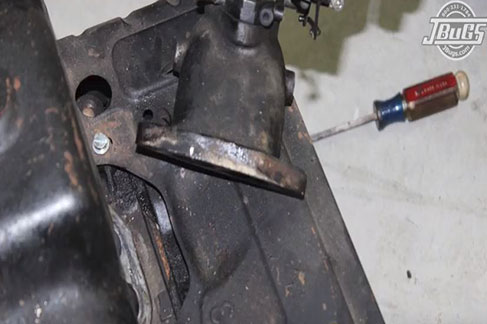
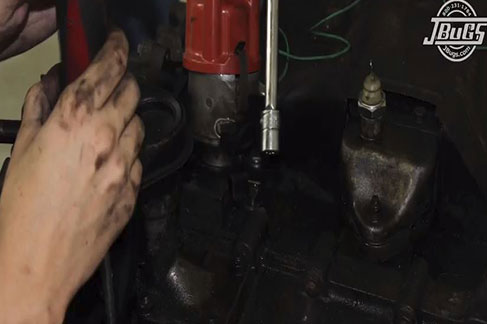
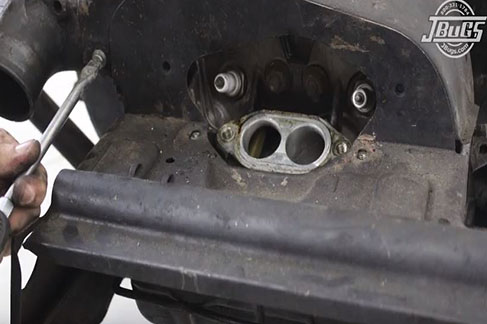
6. Unthread the nuts at the intake manifolds on both heads
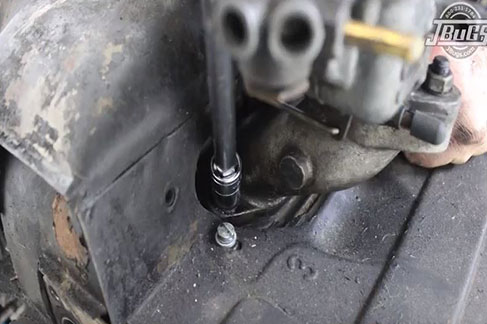
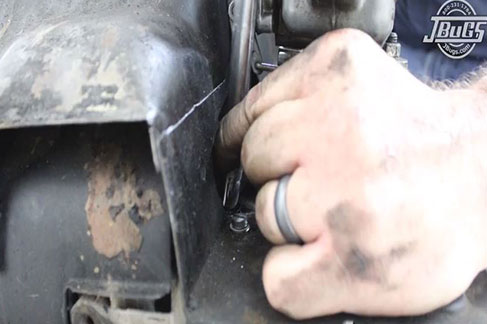
7. Pull off carburetors and linkage
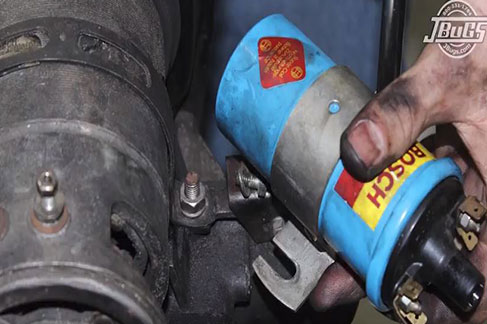
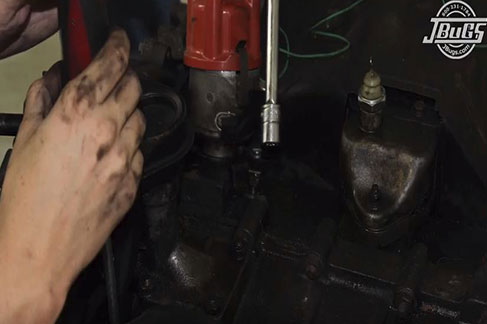
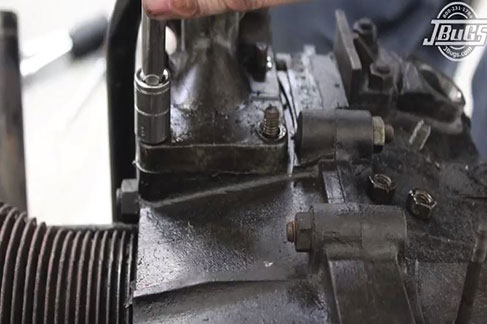
8. Remove the coil and engine intake cover bolts

9. Cut and remove the intake cover
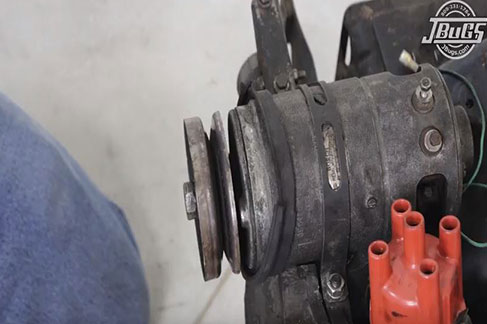
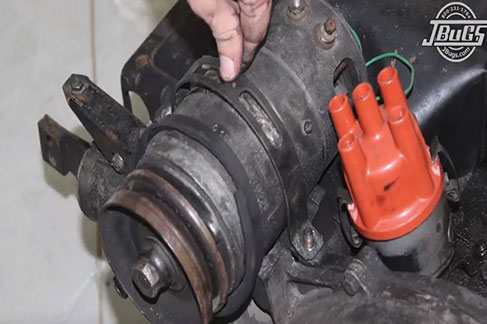
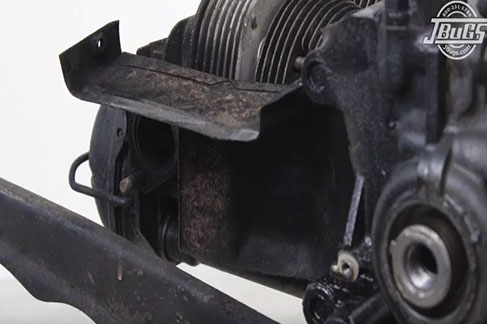
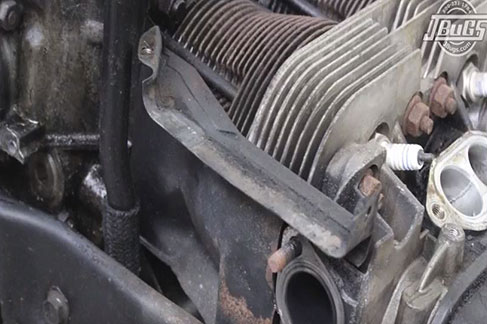
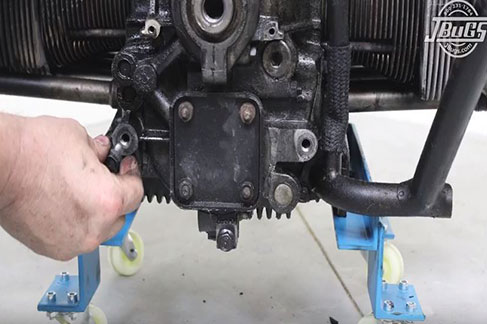
10.Unbolt the generator strap
11. Remove the generator
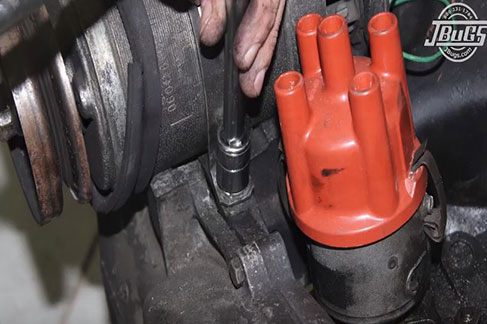
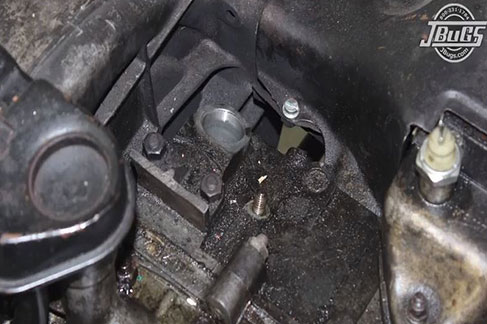
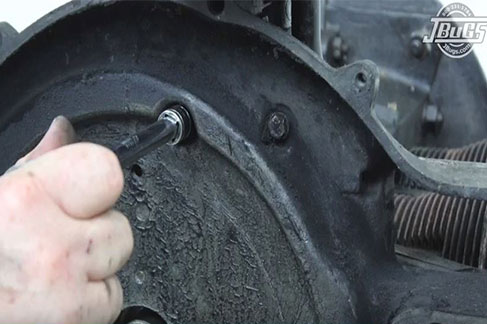
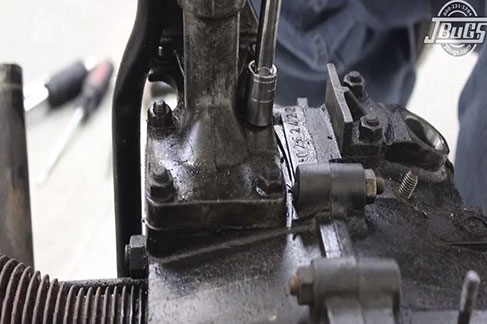
12. Pull off the distributor clamp nut from the engine case
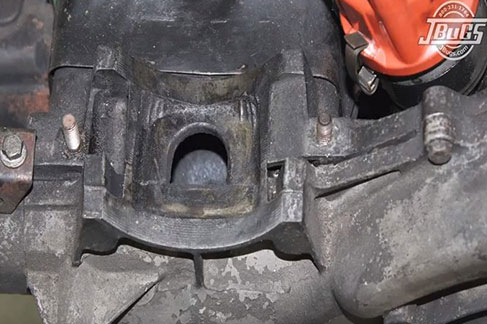
13. Remove the distributor and the clamp
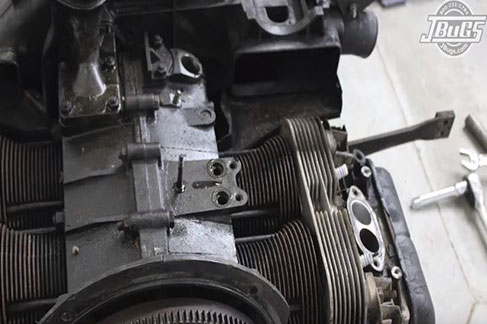
14. Remove multiple sheet metal screws from the cylinder shrouds and pull off cylinder shrouds
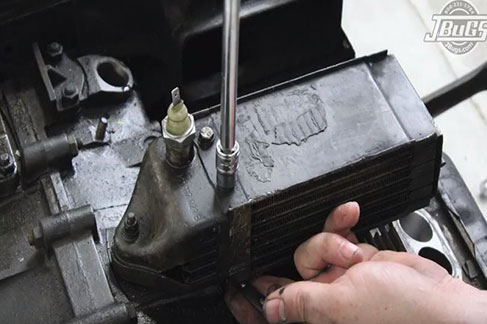
15. Remove the oil cooler
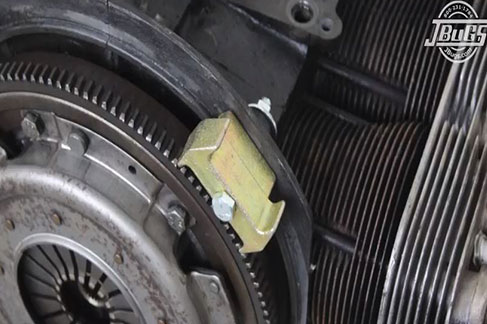
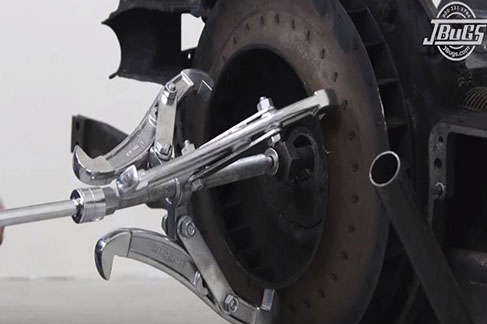
16. Bolt a flywheel lock to the case
17. Remove the crank pulley nut
18.Pull off the crank pulley
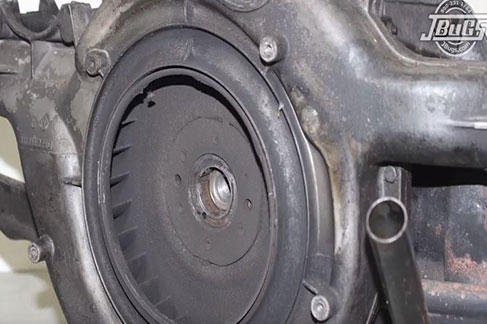
19. Unbolt the coil bracket and front fan shroud bolts and remove front fan shroud


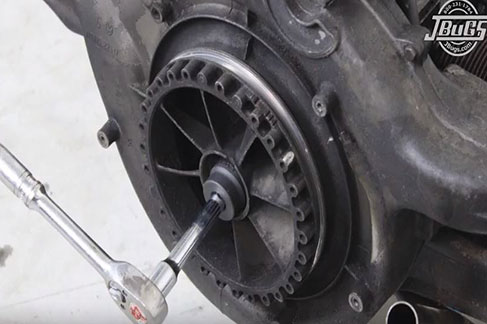
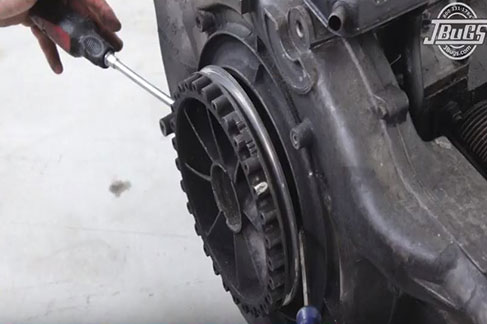
20. Use a pulley puller to pull off the crankshaft fan

21. Unbolt the rear shroud fan from the oil filler tower and engine

22. Pull off the left and right cylinder deflect tins
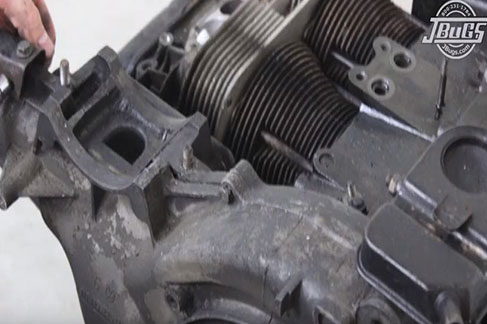
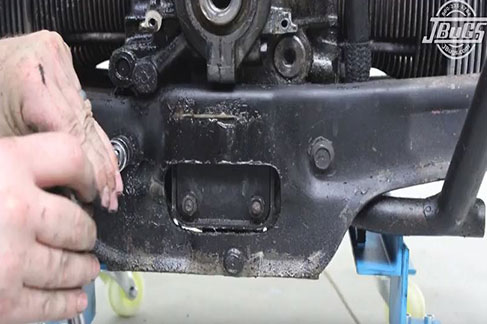
23. Unbolt the rear engine cross brace from the engine case
24. Unbolt the oil filler tower from the case
25. Pull the breather tube off of the dipstick tube
Once you’ve completed all of these steps, the engine tins are now removed and you can continue the engine enhancement or rebuild on your classic VW.
If you need to replace or upgrade the engine tins visit www.JBugs.com, we have everything from tin, shrouds, pulleys, and
valve covers to firewalls, clamps, and even complete kits.
All of our products are manufactured with durable materials and quality tested to ensure they meet factory standards. We guarantee these products will enhance your classic Volkswagen without compromising its classic style.
Good luck with your restoration! If you need additional guidance on the removal or installation of products, visit our channel on YouTube or give us a call at 1-800-231-1784.
